Blog Background

Showing posts with label Our Home. Show all posts

Sunday, July 7, 2013

Black, White, and Red All Over

What is black and white and red all over?

Did you guess?

The answer is our back porch.

I thought we needed some summer patriotic color for Independence Day. I planted red begonias and white impatiens in our planters. Our porch gets partial shade.  These plants are thriving and seem to be a good choice for the space.

We have a long way to go on our "new" home. We are tackling one project at a time. We are currently working to spruce up the exterior.

Here is a list of some of our 'to do' projects. We've accomplished the first four so far. I hope to have more progress to share with you soon.

-plant new plants in back porch planters
-put pine straw in plant beds around house
-remove front storm door
-remove old front handrail
-pressure wash driveway and house exterior
-paint all exterior trim
-paint front door
-plant flowers that add seasonal color in planters on front porch
-replace front door hardware, house numbers, light fixture, etc.
-organize storage shed
-paint storage shed


We wish you all a happy Independence Day weekend. We are also celebrating my 29th birthday this weekend. I hope to start blogging more since Judd gifted me an iPad! Do you know of any helpful apps from which to blog when using an IPad? 

Saturday, April 27, 2013

Hippity Hoppity

photo 1

Hi!  I am a little late posting this.  However, I think this project turned out pretty cute; therefore, I wanted to go ahead and share it with you even if we are a bit past Easter.  You could apply the same concepts to make something for summer.

Judd and I just moved into a new house in a new city.  We feel so blessed to be in this new location and starting this next chapter in our lives.  I graduated with my Ph.D in December 2012 and was hired the same month for a new job at my alma mater, Auburn University, as the Director of Assessment and Strategic Planning in the Division of Student Affairs.  I worked out my 30-day notice at my job at UAB, said goodbye to my dear colleagues there, and came straight to Auburn.  The last few months have been a whirlwind of change in the best ways possible.

The house we are living in was actually the first one we rented as newly weds when we were first graduate students.  After we moved out, Judd’s parents bought the house and it has been vacant ever since.  I was eager to improve the curb appeal a little and to make it apparent that someone really lives in the house now.  I set out to find something pretty to hang on the front door.

The idea for this project came from a shopping trip with my MIL for something cute to put out front.  I found some really precious spring/Easter décor made from painted burlap.  I was in love with a particular carrot.  When I turned it over to check the price; however, it was all I could do to keep my pupils from turning to dollar signs like in cartoons.  The carrot I liked so much was priced at around $50.  I could not believe some cheap burlap, stuffed with trash bags, with some paint slapped on it could cost so much.  We immediately got in the car and went to the local craft store to purchase the materials to make this one ourselves. It turned out pretty cute. What is to follow in this post is a quick tutorial on how to make your own Hippity Hoppity Easter Carrot.  I made mine for well under $10 because I already had a good many of the necessary supplies.

The items below are what you will need to make this craft.

  • 1 yard of cream burlap folded in half
  • Acrylic paints (orange, white, and two shades of green)
  • Fabric paint with a tip for writing (black)
  • Sharpie marker
  • Scissors
  • Paint brush 
  • Kitchen trash bag or drop cloth to place underneath while painting
  • Several plastic garbage bags or plastic grocery sacks for stuffing
  • Hot glue gun
  • Small piece of wire to use for hanging
  • paper plate to serve as a paint palate

photo 2

The first step is to cut your burlap into the desired carrot shape.  Since I folded the burlap in half, I cut both the front and back sides of the carrot out at the same time after drawing the shape I wanted on the top piece of burlap with my sharpie marker.  Don’t worry about making marks on the fabric because the top piece with the lines on it will eventually be placed underneath the clean piece.  The lines will go on the inside of your carrot and will never be seen again.

Next, paint on glue using a paint brush dipped in water.  This step will make your burlap stiff and will help your paint to go on better.  Allow the glue to dry.

photo 1 (2)

After you have drawn your template.  Place it beneath the clean piece of burlap.  Use the lines you drew to trace your design with paint .  Make sure you are painting on what is now your clean front piece of burlap.  In the photograph below, I peeled an edge of my clean portion up a bit so that you can see the template I drew sitting underneath it.  Next, paint your stem entirely with the darkest shade of green. 

photo 3

photo 4

While the green stem is drying, use the faint lines showing through from the bottom piece of burlap to guide the painting of your white chevron patterned sections.

photo 5photo 1

While your white painted sections are drying, use the lightest shade of green to highlight your stem. You may even want to use a bit of white paint for highlighting.

photo 2

Next, fill in the sections that are supposed to be painted orange.

photo 3photo 4

Allow all sections to dry well.  When ready, use the black paint with the tip for writing to write the message and then outline the carrot.

photo 5


photo 1

photo 3

Allow to sit for several hours.  I let mine sit out overnight.  When the writing and all other paint sections were totally dry, I hot glued about 3/4ths of the back of the painted side to the front of the side with the template drawn on it so that all exterior pieces look nice.   I left a space open to allow for stuffing in the plastic bags.  I completed gluing all sides together once I felt the carrot was properly stuffed.  Here is how it looked in the morning.

photo 5

I couldn’t wait to hang it on our front door.  I quickly  put the piece of wire through the carrot at the base of the stem poking it from the back to the front.  Then I curled the ends of the wire around my finger. 

photo 5

I was pleased with the finished product.  Our house sits back far from the street and we needed something large enough to show up from the road.  Since we’ve just moved, we haven’t had time to do any other types of curb appeal improvements.  For now, the carrot (or our next front door craft to come) will be enough to hold me over and make it seem like people actually live in the house.

Happy crafting!

Saturday, January 21, 2012

Let There Be Two Lights

So, the lamps that I ordered at the beginning of December finally arrived.

I ordered two Julian apothecary lamps with an antique brass finish from Ballard Design.

They were intended to go on either side of our sofa. That's where they are in the pictures. Honestly, the wall between them looks a little bare now that they are in place. Maybe if I add some framed art pieces that whole side of the living room will come together.

What do you think so far?  I imagine that I will be buried in a sea of research underneath them pretty soon.

Monday, January 2, 2012

Merry New Year!

Happy New Year, Y’all!  Did your 2012 get off to a good start?  I hope so.

Judd and I had a great time ringing in the new year with our friends.  In fact, we have had lots of time for visiting with friends and family this holiday season. We hosted Christmas for the first time ever at our house.  In six years of marriage, Judd and I had never had a Christmas morning where we woke up in our own home.  We usually travel to his parents’ home, my parents’ home, or my grandmother’s house.  We were so glad to have both sides of our families together this holiday.  We understand what a blessing it is to have in-laws who are willing to spend the holidays together and that they actually enjoy each other’s company.  It was also so special to have my big brother, Bryan, home this year.  He spent a few holidays away from us due to military deployments.

Front row (L to R): Judd, Abby, Carole (Abby’s Mom), Mary Evelyn (Abby’s Grandmother), Laura (SIL), Dot (Judd’s Mom), Brenna (SIL)

Back row (L to R): Del (Abby’s Dad), Bryan, Terry (Judd’s Dad), and Colby (Judd’s younger brother)IMG_0242

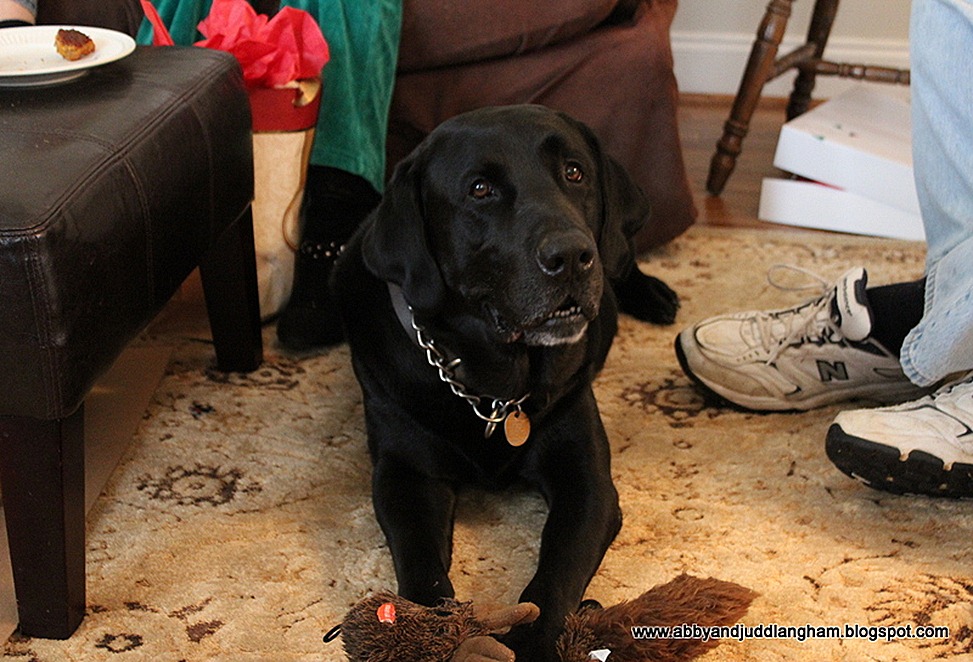
Cole was thrilled to have all of his favorite people under one roof.  It’s hard to tell, but trust me, this is his excited face.  I know it doesn’t seem that much different from his happy face, sad face, or tired face. 

IMG_0029

Judd and I had a lot of fun preparing our home for our special guests.  We lucked out when purchasing some pine garland for our front door from a local Christmas tree lot.  I asked the workers what they did with the leftover branches from where they trimmed the bottom of the trees when making our purchase.  They told me that they threw them away and that I was welcome to take as much as I wanted.  And, that I did.  Luckily, we were in Judd’s truck so I was able to take home a good bit.  I spent the next two weeks making live wreaths and garlands. I’ll do a post on how to make them soon.

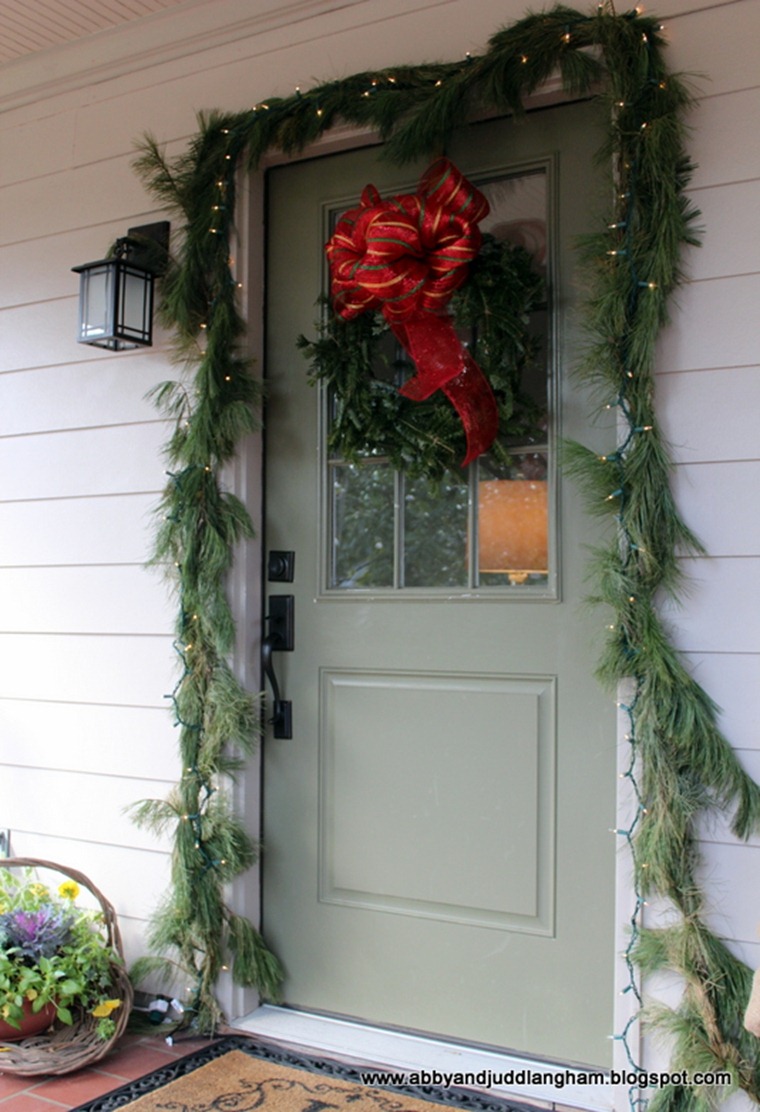
Outside, we added the purchased pine garland and some white lights around our entry.  A live fir wreath hung on our door with a large deco mesh bow.  Our porch and porch swing were decorated with fir, magnolia, nandina, and holly.

IMG_0063IMG_0051IMG_0193

IMG_0148

I wrapped our usual blue RH outdoor pillows in burlap and tied them like presents.  I wanted a no sew project that would help our pillows fit in with the Christmas décor.  I cut two squares of burlap and folded them over the pillows like an envelope.  The ribbon helped to keep the burlap in place.  I also picked up the little pieces of tree trunk that the Christmas tree lot was cutting off of the trees.  I used them along with some greenery to decorate our front porch table.  Judd added a red bell that was his late grandmother’s.

IMG_0105

I mentioned in my last post that I got a camera for Christmas.  It is basically the same camera my sister-in-law Brenna already had.  She and I enjoyed taking pictures together.  I was glad to get a few pointers from her.

IMG_0112

IMG_0107

IMG_0066IMG_0154

IMG_0052

IMG_0108

Our mailbox was draped with a fir garland and a bow made from two different sizes of deco mesh, one solid and one striped. 

IMG_0055

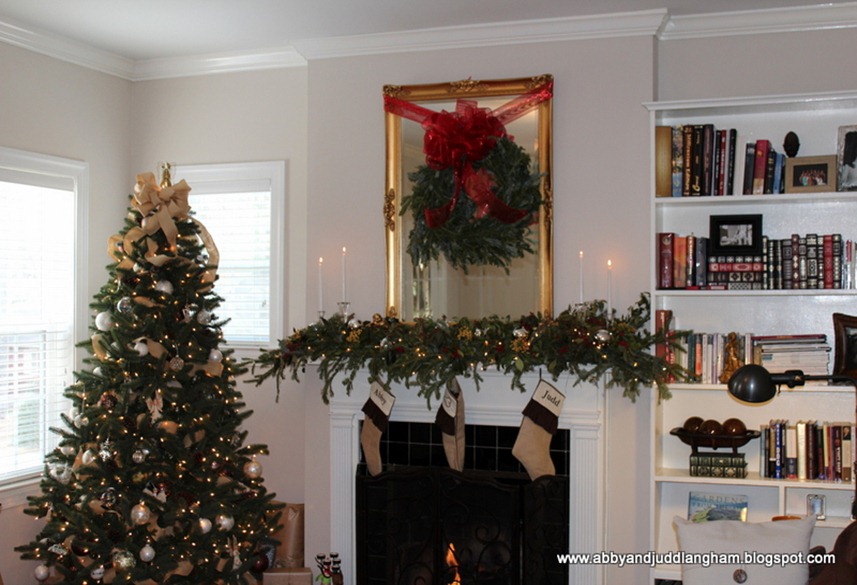
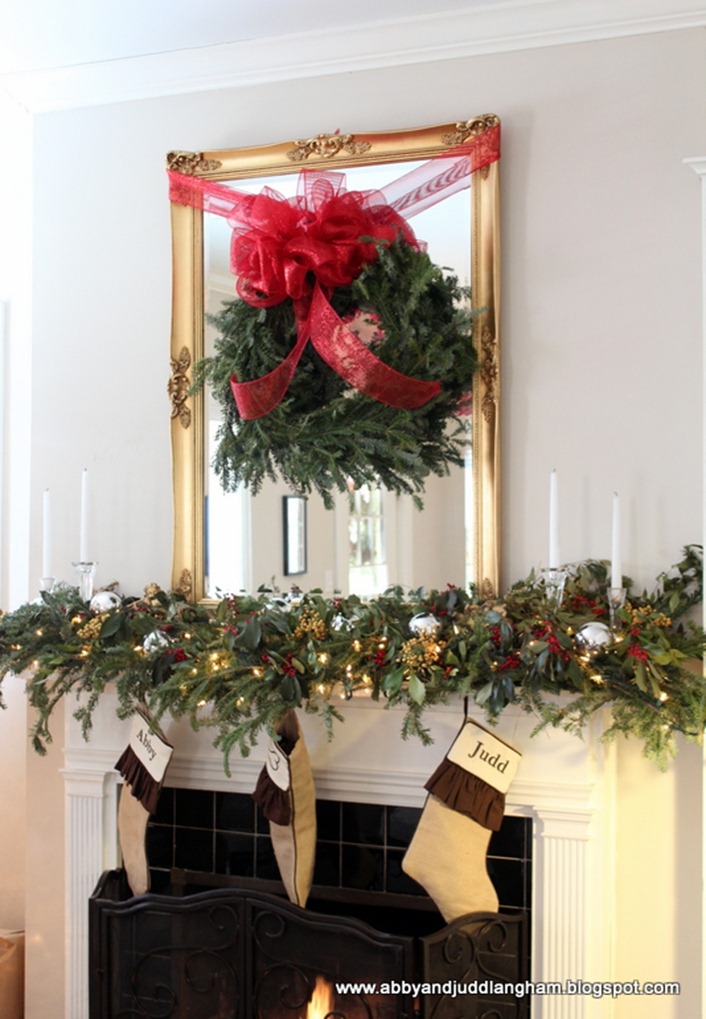
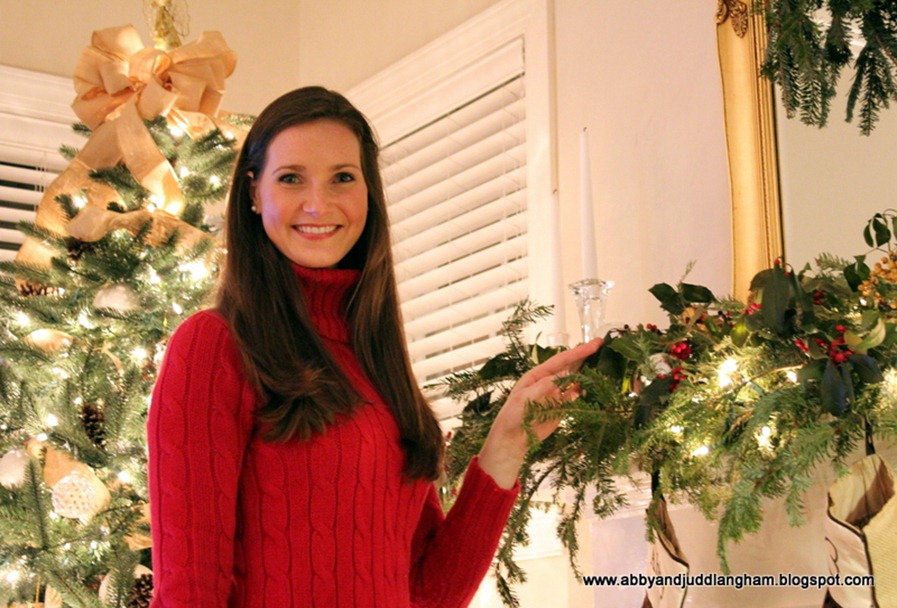
Our living room held our tree and a live garland over the mantel made of fir.  The garland had red and white nandina berries and holly tucked in throughout.  A double sided live fir wreath was hung over our mirror.

IMG_0047

IMG_0045IMG_0093

Our tree was decorated with burlap ribbon, brown, cream, tan, and mercury glass ornaments and balls, and pinecones.  We also incorporated some ornaments that are special to us.  Our tree skirt was a long piece of burlap folded in half and gathered around the trunk.  It was another quick no sew project.

IMG_0033

IMG_0036

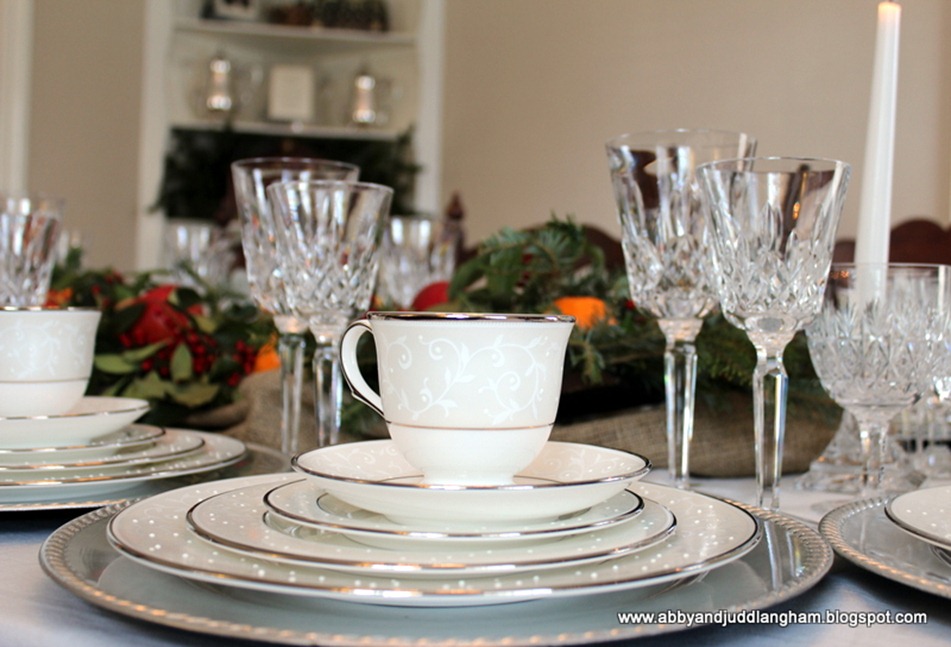
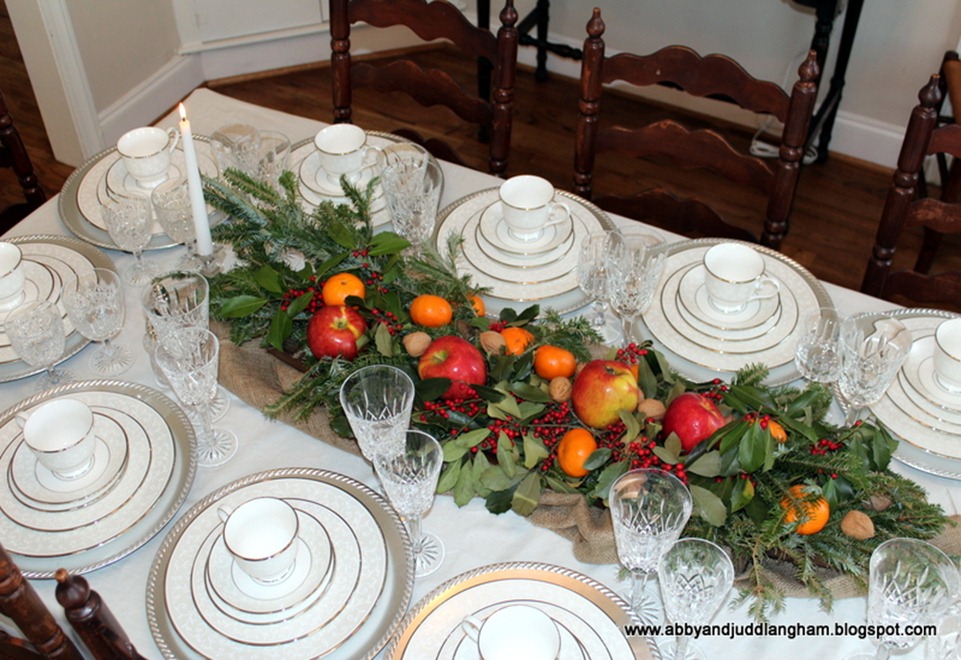
Our dining room was adorned with live garlands over the china cabinet and above our corner cabinet.  The table was set with our Opal Innocence by Lenox China with our Lisomore Tall Waterford Crystal.  My mother loaned us her King Richard by Towle silver flatware to use during the holiday meals.  We used this table setting three times.  Judd and I hosted a Christmas Eve seafood feast on Saturday night.  On Christmas Day we had brunch and Christmas dinner. 

Eating seafood on Christmas Eve is a tradition with Judd’s family.  They live in a small town in south Alabama that is near the gulf coast.  His parents drove to Mobile , AL the day before coming to our house in order to fetch the freshest catch from our friends, the Atkins family.  The Atkins’ are third generation owners of Southern Fish and Oyster in Mobile.   Our buddy, Tripp Atkins, even packed a surprise in the cooler for me to use when decorating—beautiful oyster shells.  We added them to our centerpiece which consisted of clementines, apples, fir, nandina, holly, and assorted nuts.  The arrangement sat on a half barrel with some burlap underneath it.

IMG_0069

IMG_0070

IMG_0132IMG_0071

IMG_0124

IMG_0100

IMG_0077

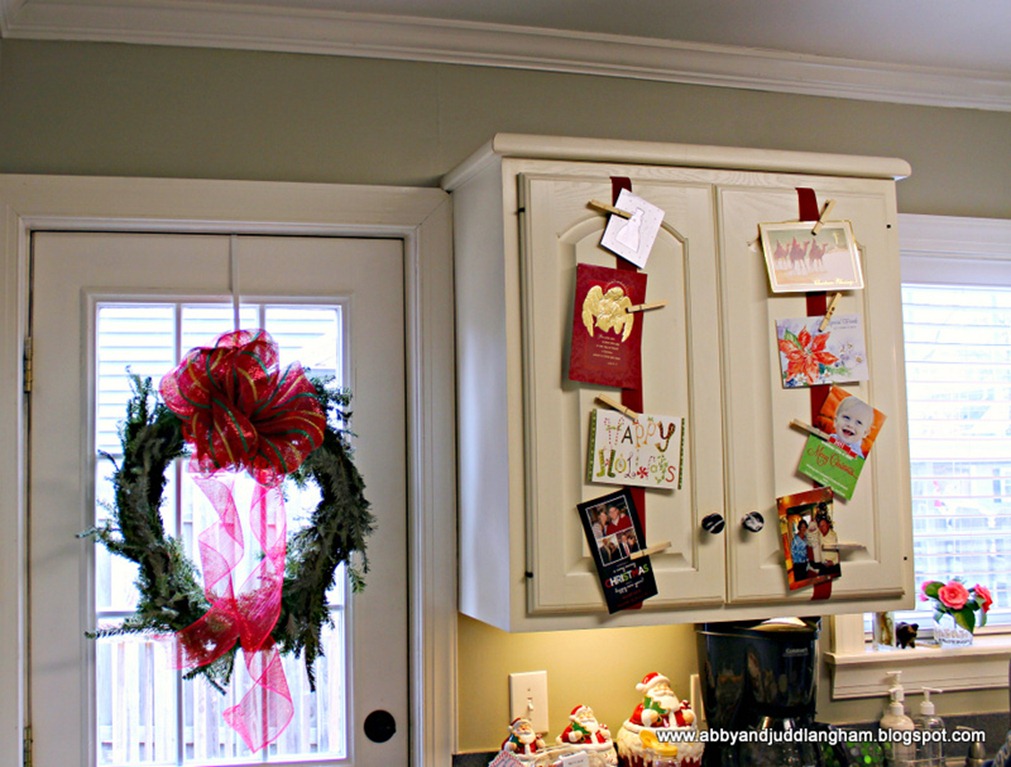
I found a clever way to display Christmas cards from Brenna’s blog.  I think she got the idea from Pinterest.  It was so simple.  I just cut ribbon the appropriate length and gently taped it to the top and bottoms of the backside of each cabinet door.  Clothes pins held each card in place.  It was so fun to view the cards and pictures from the folks we love the most everyday in our kitchen.  Our back door which is located in our kitchen held a live fir wreath with another deco mesh bow.

IMG_0082

IMG_0084

Judd’s mom, Brenna, and I had a lot of fun rolling and cutting out sugar cookies.

IMG_0101

IMG_0102

Cole decided that watching us bake was too much work for him.  He went outside to take a nap in the sun.

IMG_0104

I can’t seem to find the appropriate words to tell you all how much we enjoyed having our family together.  We had a lot of great quality time together.  We visited with my grandmother, played photo shoot with the new camera, worked a puzzle, ate 3 delicious meals, drank warm beverages by the fire, attended our church's Christmas Eve service as a family, and opened gifts together.  We couldn’t have asked for a better time as a family.

IMG_0166

We had fun passing the new camera around.  I especially enjoyed it when viewing the photos for the first time.  It was fun to see the holiday from the perspective of others.  Bryan is a military broadcast journalist.  He took the next two photos.
IMG_0185

Dot, Brenna, and I made gift tag place cards to put on each person’s glass.  I wrote a different question on the back of each tag that was to be answered at dinner.  The questions consisted of things like “what is your favorite Christmas memory or tradition, or movie, or song, etc.?”  I think it gave us all something “Christmassy” to talk about while dining.

IMG_0191

IMG_0200

IMG_0202

IMG_0208

The guys were outside most of Christmas Eve frying our delicious seafood feast.  Our friend Hunter came over that night to eat with us as well.  The meal consisted of gumbo, fried popcorn shrimp, fried jumbo shrimp, coleslaw, and seafood gumbo.  YUMMY!

From L – R: Bryan, Hunter, Terry, and Colby

IMG_0212

IMG_0224

IMG_0234

Opening presents was a lot of fun.  Cole especially enjoyed his gift from his Aunt Brenna and Uncle Colby.

IMG_0256

IMG_0270

IMG_0277

IMG_0285

Mommy and daddy had a gift for Cole too.  He had a good doggy Christmas.

IMG_0330

IMG_0306

IMG_0319

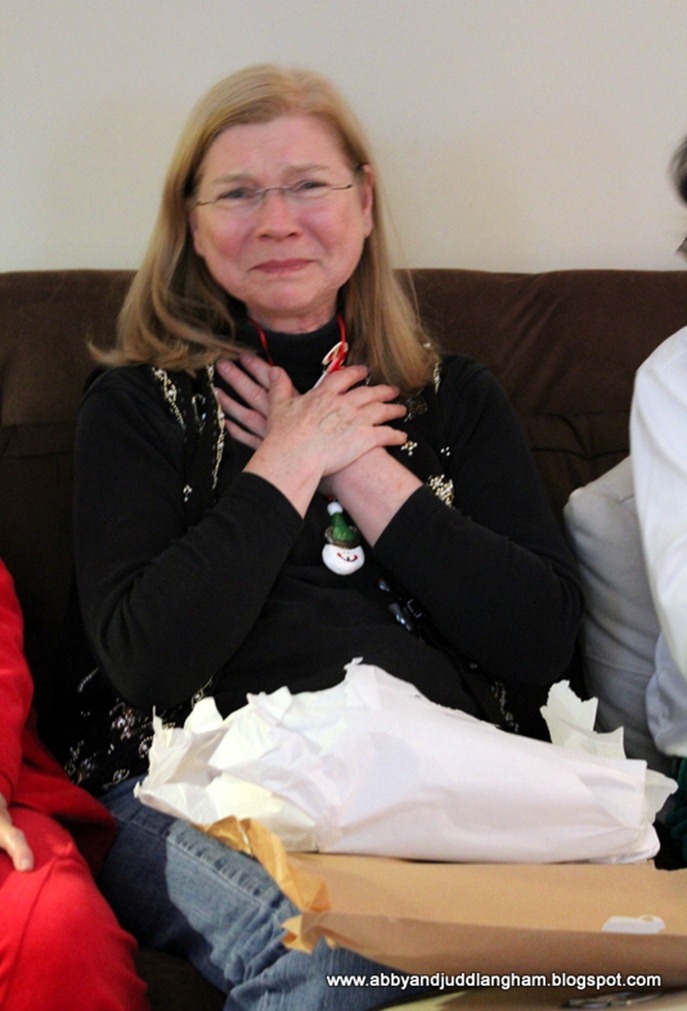
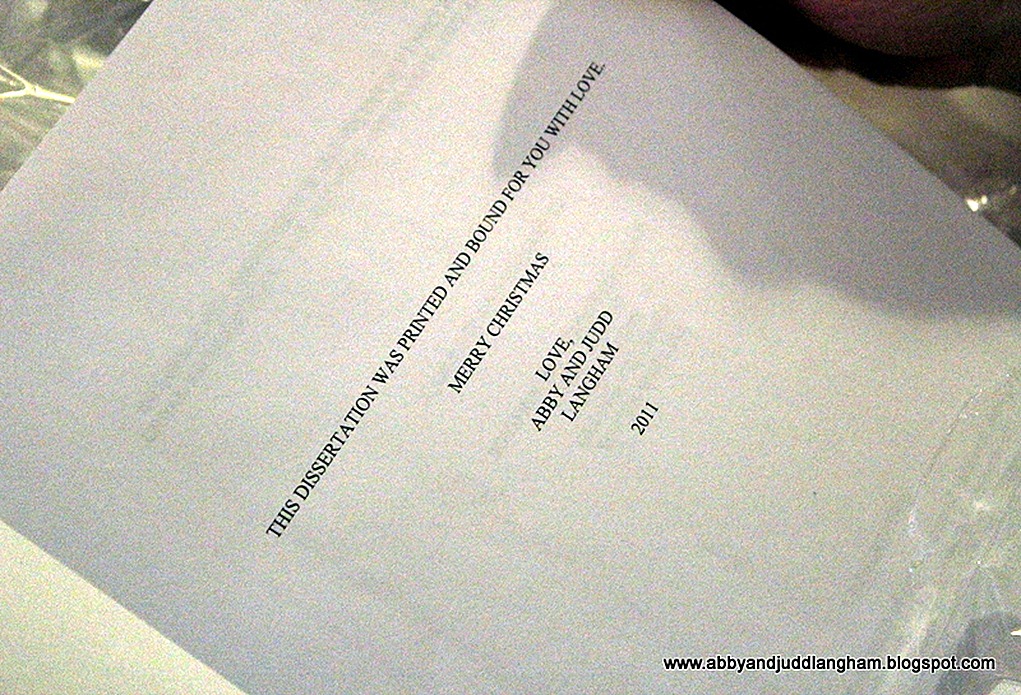
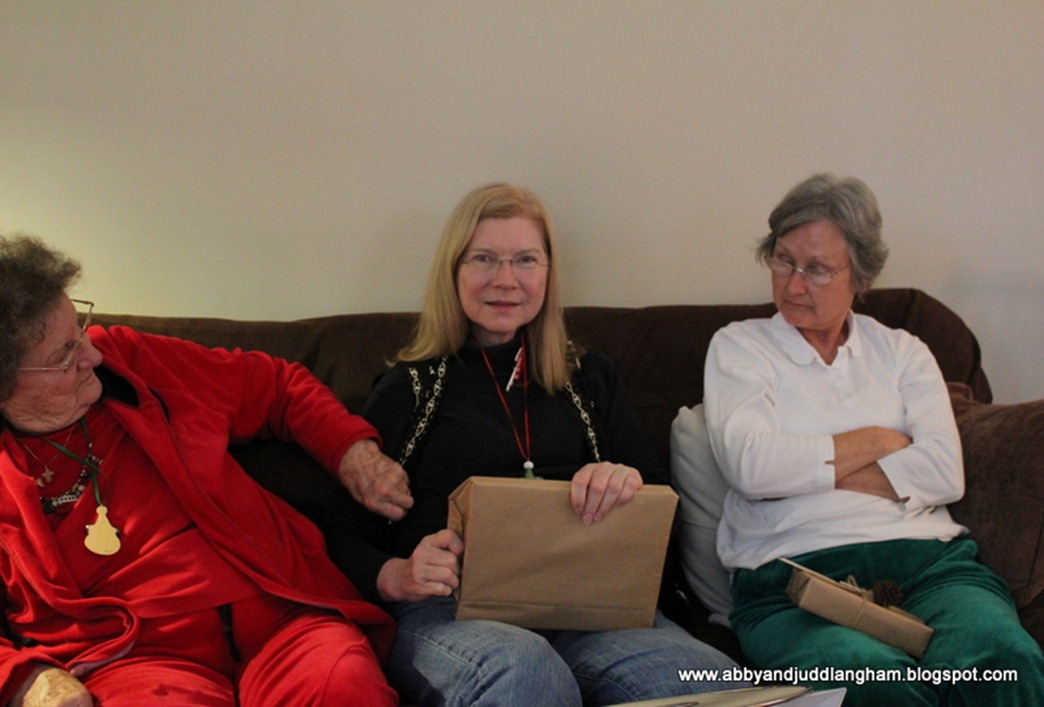
Judd and I both planned special gifts for our mothers.  My mother finished her doctorate in 2007 and never had her dissertation bound.  I surprised her with a hardback copy of her work.  She had no idea.  I’m pretty sure those were happy tears. 
IMG_0336

IMG_0337

IMG_0338

IMG_0343

IMG_0345

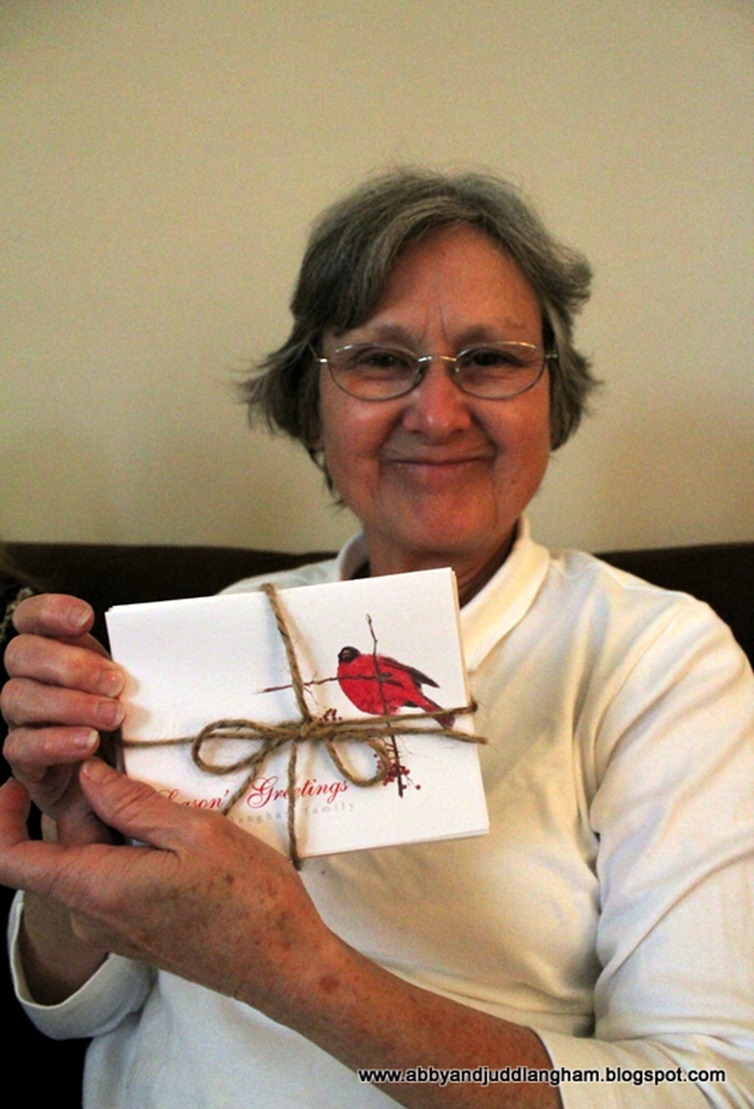
Judd watercolored some Christmas cards of a Cardinal, his mother’s favorite bird, for her to use next year.
IMG_0347

That pretty much sums up our Christmas 2011. Goodbye until next time.

IMG_0354